In CalendarAnything LWC, calendars can be created to render dynamically based on one or more dynamic filters passed from a selected record. These calendars are referred to as “dynamic” calendars. As web components, dynamic calendars can be embedded into your application detail pages.
In this article, you will learn about:
How to create a dynamic calendar:
| Note! | If unfamiliar with the CalendarAnything LWC Create and Edit Calendars wizard, refer to Create, Edit, and Share Calendars for help with using the wizard. |
These instructions show how to create a dynamic calendar based on an account associated with a selected record.
Follow these steps to create a dynamic calendar:
- Access the Create and Edit Calendars wizard.
- Complete the Name and Color step. For this example, name the calendar Dynamic Account.
- Complete the Calendar Criteria step.
- Select the Filter Criteria step.
- Click Add. A row to add a filter appears.
- Select the Field Name and Operator.
- Click the dynamic filter icon. The field to add a value becomes read only.
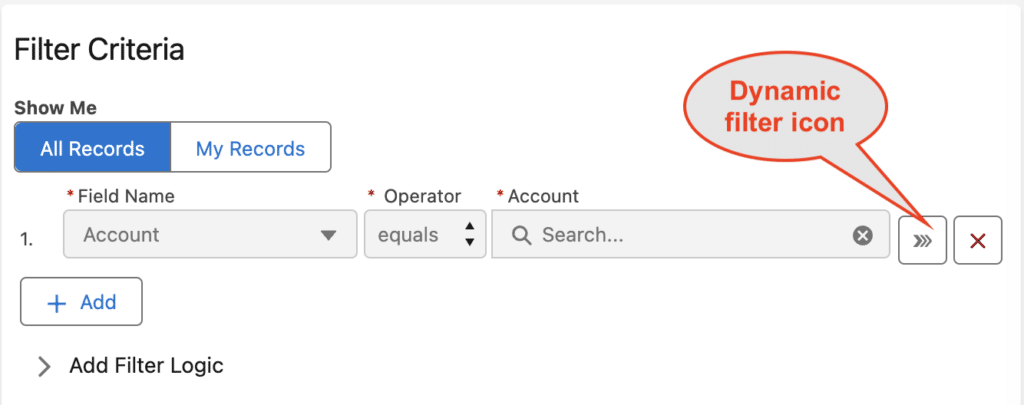
- To add another dynamic filter, repeat steps 5 – 7.
- When finished creating the calendar, click Save.
How to embed a dynamic calendar in a record detail page
Dynamic calendars need to be placed in a page that displays a detail record. Following our example, these instructions show you how to embed the newly created Dynamic Account calendar into the Account page.
Follow these steps:
- Navigate to the detail page in which you want to embed the calendar. For this example, we’ll select an account from the Accounts page.
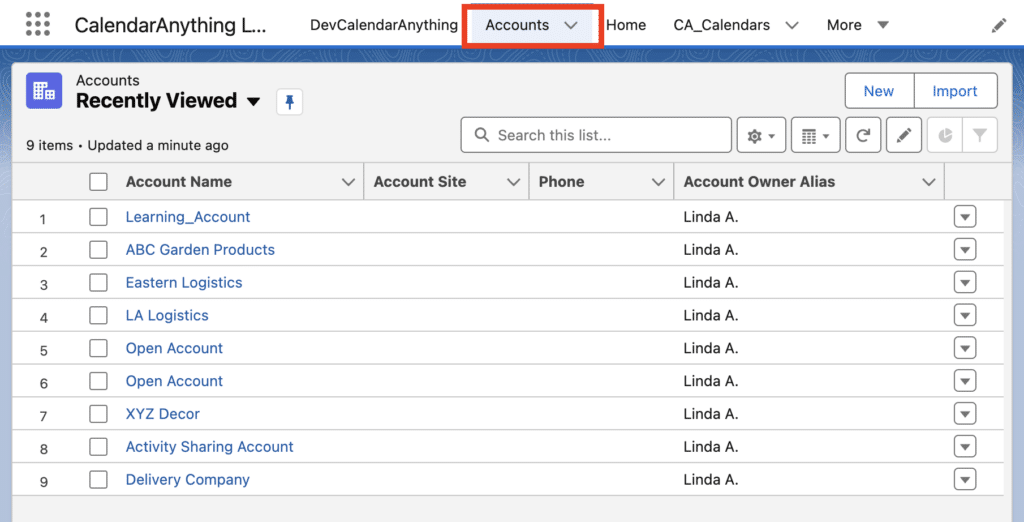
- Select an Account Name. The account detail page shows details of the selected account.
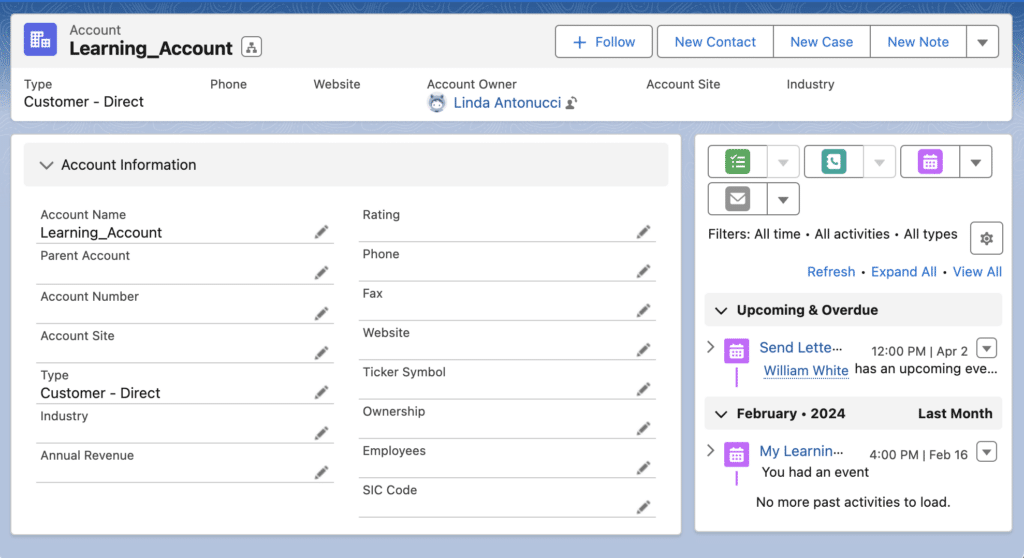
- Click the Salesforce gear icon and then select Edit Page to bring up the Lightning App Builder. Note: If you do not see the Edit Page option, contact your system administrator.
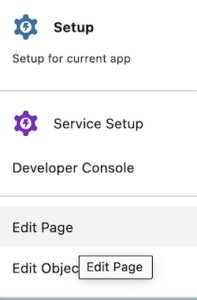
- In the Lightning App Builder, in the left sidebar, find the CalendarAnything LWC Performance component and drag it onto the section of the page in which you want the component to appear. The component properties panel appears on the right side of the page.
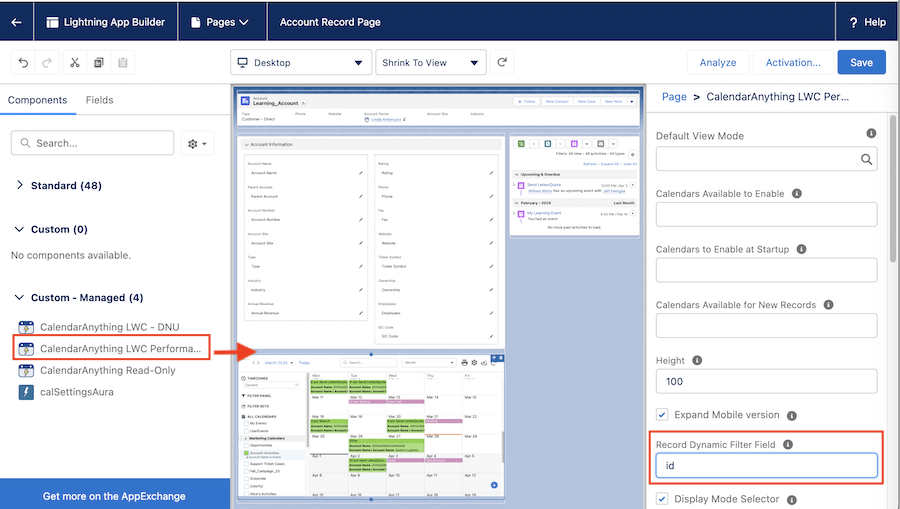
- On the component properties panel, enter id into the Record Dynamic Filter Field property.
- Click the Save button.
